

Oh Here's something else I wanted to show you! There was this rain storm a few days ago, and when I got up super early for work this is what I saw!It was a whole rainbow, too! So beautiful!


Oh, right, and speaking of holiday treats, I have decided to go ahead with my candy posts for the holidays! This will be the first of my series of candy posts! I've been making tons of different things for the Christmas craft fair, and I love to include candy with the cookies plates I give to friends for holiday presents.

Tempering chocolate is a very important and basic skill. You can do TONS of stuff with tempered chocolate! You really need a candy thermometer to do this, as tempering requires some rather specific temperatures. This is not something to be intimidated by, it just takes a little precision and time. You can do it!
Because I knew I would be making a lot of stuff, I bought a huge bar of chocolate! You want to choose a good brand. Something that is totally delicious all by itself.

I'm in love! I was almost sad to open it's perfect wrapper, but it was worth it! I also prefer dark chocolate, but you could use milk chocolate if you really wanted to. This also works for white chocolate. These are the instructions we were given in culinary school, written by Cathy Burgett, our teacher. Ready? Here we go!
To temper 1 1/2 pounds of chocolate:
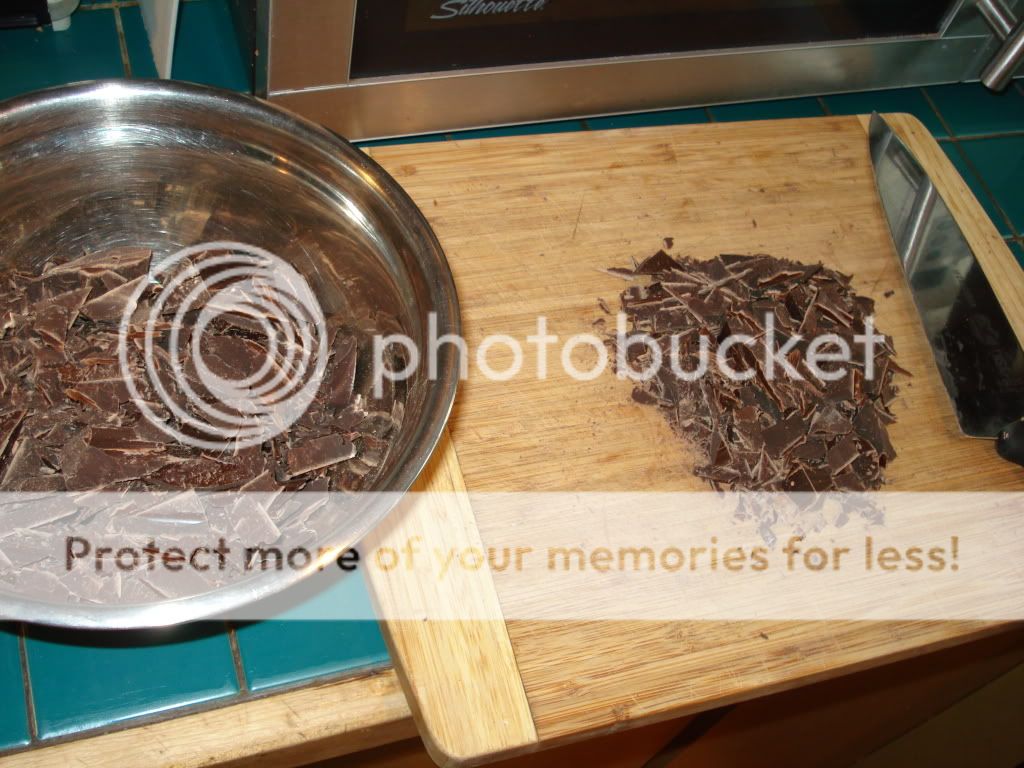
-Chop the chocolate very fine, and place two thirds of it in a metal bowl. Bring a pot of water to a simmer, remove it from the heat and place the bowl of chocolate over the water. The bottom of the bowl should not touch the surface of the water or the chocolate will overheat. Stir the chocolate frequently as it is melting. Take the chocolate's temperature occasionally to make sure that it does not exceed 125*. If it looks like it might be getting too hot, take the bowl off the water bath, and keep stirring to complete the melting.

-Remove the bowl from the water bath when the chocolate has melted. Dry the bottom of the bowl. Stir in the remaining third of chocolate, a little at a time until the temperature comes down to 87* to 91* for bittersweet or semisweet chocolates, or 84* to 88* for milk or white chocolates.
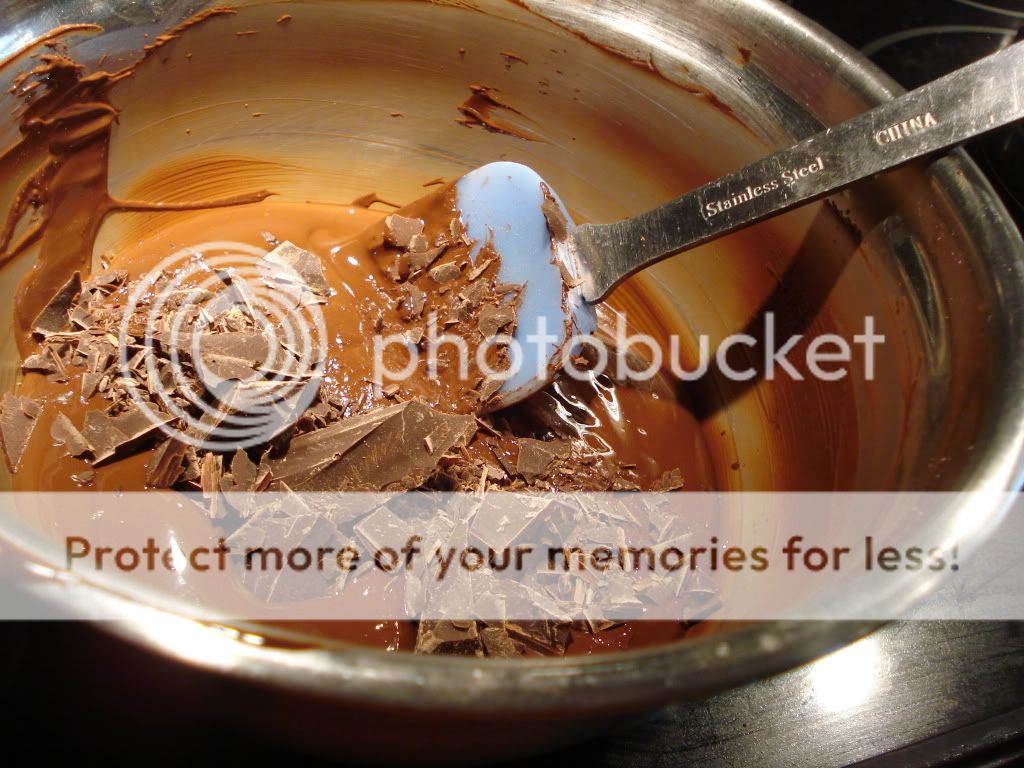
-The chocolate can drop down as low as 71*, but then must be reheated repeatedly over the pan of hot water for no more than 2-3 seconds at a time until it comes back up to 87*-91*(bittersweet or semisweet) or 84*-88* (milk or white).

If the chocolate cools down below 71* you must start over. If upon reheating the chocolate the temperature rises above 91* for darks, or 88* for white or milk, the chocolate goes out of temper and you must start over. When the chocolate is in the ideal temperature range it is in a good state of temper and can be used for molding, coating, rolling and decorations.

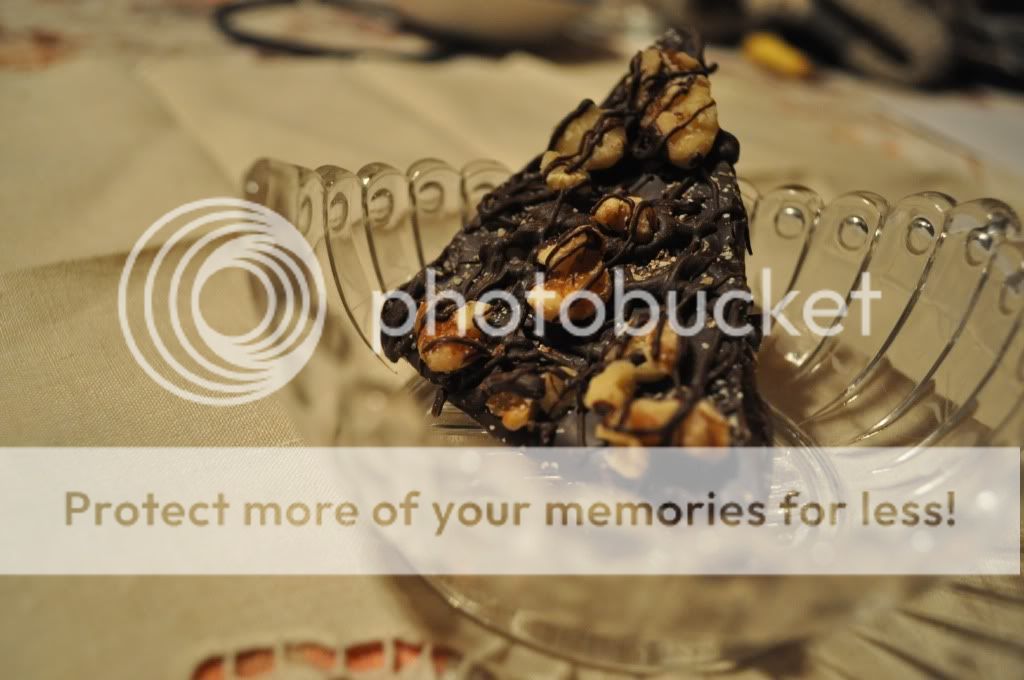
I used my tempered chocolate to make truffles in molds, for chocolate coffee bark, and to coat things like turtles, peppermint patties, and caramels. It also went on English toffee! When Chocolate is properly tempered it should appear very glossy and smooth, and have a good hard snap to it when you break it. Chocolate that is out of temper it will "bloom", or have the cocoa butter rise to the surface and create a milky film on top, looking cloudy. It will also be softer, lacking the nice snap of tempered chocolate.

See? Super shiny! And we all know that I like shiny things! I hope you guys get a chance to try this out for the holidays, and create something beautiful, and delicious! More candy posts will follow, and I'll be referring back to this post. There will be lots of good ideas for using tempered chocolate! I bet you can think of some too!

Tomorrow is my early shift at work. On Wednesdays I ride my bike about 3 1/2 miles to Magic lake (above picture), and then I meet my friend/boss Nora and we walk the last 3 miles together. We get to go on the "Heart Trail", which takes us up and down quite a few nasty little hills, but with moss, trees, leaves, ferns and mushrooms as our scenery. Not too shabby! Check out the steam that was rising last week! Cool!

Guess I had better go to bed soonish. G'night all!

That is a huge bar of chocolate :)))
ReplyDeletethanks for the tips on tempering with chocolate, your candies turned out perfect
I love the rainbow! And where did you get such a huge bar of chocolate? These tempering instructions are easy to follow and all the candy looks so tempting!
ReplyDeleteI always wondered how to temper chocolate and why one would need to do it. Now I know! Thank you! Your last photo looks very Harry Potter'esque! Happy hiking.
ReplyDeleteI am a big fan of chocolate. Thanks for the tip on tempering chocolate :)
ReplyDeletelovely pictures of how to temper chocolate
ReplyDeleteWas that seriously a chocolate bar? Holy cow. I don't even like the stuff and I'm seriously impressed. Thank you for the tips on tempering it (just because I don't like it doesn't mean no one else in the family feels that way!).
ReplyDeleteWhat a gigantic chocolate bar you have? I never knew how to temper chocolate. Thanks for the tips. Next, I have to get a candy thermometer, and then look for a gigantic chocolate bar:)
ReplyDeleteWhere did you find that bar? We can a huge generic bar of chocolate in the bakery section of our local grocery store starting in December for holidays but no brand named ones.
ReplyDeletethat is cool. Thanks for the tips.
ReplyDeleteRowie your site is great! my mom requested I make your peppermints, so im going to! I will blog it and link back to you so watch for it in the coming weeks!
ReplyDelete