Hey there friends! How is your week treating you so far? Not much going on here. I've been working on our property with Ben getting lots of firewood cut and stacked, having bonfires, and clearing brush. Things are slow at the bakery I work at, so not much going on there either.
I do have a great recipe for you today! These chocolate covered caramels are totally delicious, and you get quite a few from one batch. These would look so perfect in little bags with red bows, just right for Valentines gift giving! Your sweetheart , or your sweet tooth , will be happy!
Caramels
2 cups sugar
1/2 cup dark corn syrup
1/2 cup milk
4 Tbs. butter
1 cup cream
1 tsp. vanilla
Butter a 7x12" baking dish.
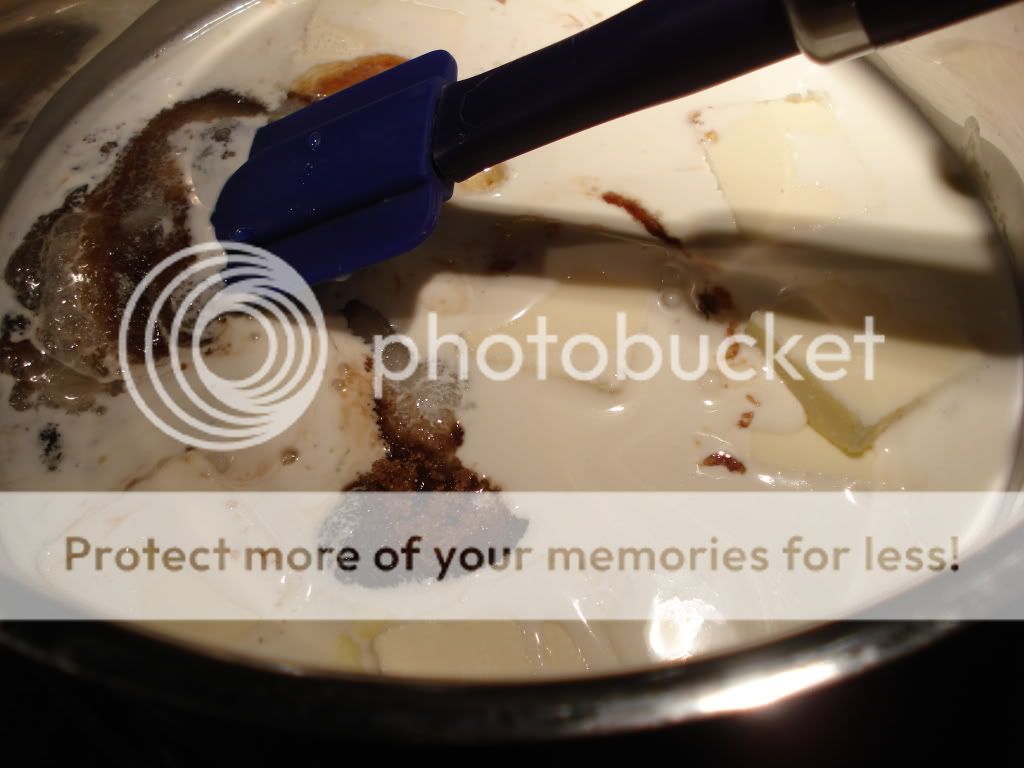
Place all the ingredients except the vanilla in a large heavy saucepan, stir, and bring to a boil over medium-high heat.
-Reduce heat to medium, and cook at a slow boil until the misture turns golden and reaches 246* on a candy thermometer, 20-30 minutes.
-Then whisk in the vanilla, remove the pan from the heat, and pour the mixture into the prepared baking dish.
When the mixture has cooled, cut it in 1/2" squares and wrap individually in waxed paper, or dip into tempered chocolate using a fork.
If you dipped them in chocolate, place them on waxed paper/parchment paper/silpat until they have set. If you don't temper the chocolate, it may bloom.
-The caramels will keep about 2 weeks if stored in an artight container in a cool place.
Enjoy!
P.S. check out my etsy shop! You can find some pics, and the link in my sidebar! Sorry about the guiltless self-advertising! O.K., not really ;)
Showing posts with label tempered chocolate. Show all posts
Tuesday, January 18, 2011
Monday, January 10, 2011
Chocolate Turtles
Hi everybody! So sorry, I know it's been a long while since my last post. It was nice to have a little break though. I've been so busy, plus I've been teaching myself to knit (SO fun!)! I'm feeling the craving for more good food and fun recipes though, so here I am!
Today's recipe is left over from my holiday candy making. These turtles always look so cute, and people are always impressed. Make them now for a sweet treat, or add them to your Valentine's Day "must make" list!
Chocolate Turtles ( by Cathy Burgett)
2/3 cup brown sugar, firmly packed
1/3 cup granulated sugar
3/4 cup light corn syrup
3/4 cup cream
2 oz. butter
1 tsp. vanilla
l lb. pecan halves, lightly toasted and cooled
4 oz. bittersweet or semisweet chocolate, tempered
Place the pecan halves in clusters of 5 (1 for the head, 2 for the arms, 2 for the legs) onto silpats. You should get about 28-30 turtles. I didn't have halves, so I used chopped pecans and just made clumps. They didn't look quite as nice, but they tasted just as good!
Make the caramel: Place the sugars, corn syru, cream and butter in a heavy-based wide pot, and cook over medium-low heat, stirring often until a candy thermometer reads 248*, or hard ball stage.
-wait for the caramel to cool just a bit, and add the vanilla. Next, you can either put the caramel into a piping bag and squeeze it onto the turtles (more precise method, but more dishes and messier), or you can do what I did and just spoon the caramel onto each clump (takes slightly longer, but it's easier and neater).
-squeeze/spoon quarter-size pools of caramel onto the center of the pecan bodies using a circular motion. The caramel will sink down between the pecans, so a few layers of caramel will be necessary.
-Allow to cool for a few minutes until the circles are firm enough to pick up. Transfer turtles to a parchment-lined work surface.
-Push and adjust the pecans so that no spaces form between them. Allow turtles to cool completely.
To finish turtles: Temper the chocolate.
-Fill a parchment cone with the chocolate and pipe a quarter-sized round of it onto the parchment-lined sheets.
-Gently press the flat side of the cooled turtle into the chocolate.
-Pipe a coating of chocolate on top of the caramel, allowing a small amount of caramel to show around the edges.
-Allow chocolate to set. Store turtles in an airtight container at cool room temperature.
Enjoy, and have a good week!
Today's recipe is left over from my holiday candy making. These turtles always look so cute, and people are always impressed. Make them now for a sweet treat, or add them to your Valentine's Day "must make" list!
Chocolate Turtles ( by Cathy Burgett)
2/3 cup brown sugar, firmly packed
1/3 cup granulated sugar
3/4 cup light corn syrup
3/4 cup cream
2 oz. butter
1 tsp. vanilla
l lb. pecan halves, lightly toasted and cooled
4 oz. bittersweet or semisweet chocolate, tempered
Place the pecan halves in clusters of 5 (1 for the head, 2 for the arms, 2 for the legs) onto silpats. You should get about 28-30 turtles. I didn't have halves, so I used chopped pecans and just made clumps. They didn't look quite as nice, but they tasted just as good!
Make the caramel: Place the sugars, corn syru, cream and butter in a heavy-based wide pot, and cook over medium-low heat, stirring often until a candy thermometer reads 248*, or hard ball stage.
-wait for the caramel to cool just a bit, and add the vanilla. Next, you can either put the caramel into a piping bag and squeeze it onto the turtles (more precise method, but more dishes and messier), or you can do what I did and just spoon the caramel onto each clump (takes slightly longer, but it's easier and neater).
-squeeze/spoon quarter-size pools of caramel onto the center of the pecan bodies using a circular motion. The caramel will sink down between the pecans, so a few layers of caramel will be necessary.
-Allow to cool for a few minutes until the circles are firm enough to pick up. Transfer turtles to a parchment-lined work surface.
-Push and adjust the pecans so that no spaces form between them. Allow turtles to cool completely.
To finish turtles: Temper the chocolate.
-Fill a parchment cone with the chocolate and pipe a quarter-sized round of it onto the parchment-lined sheets.
-Gently press the flat side of the cooled turtle into the chocolate.
-Pipe a coating of chocolate on top of the caramel, allowing a small amount of caramel to show around the edges.
-Allow chocolate to set. Store turtles in an airtight container at cool room temperature.
Enjoy, and have a good week!
Monday, December 20, 2010
English Toffee
Yikes! Sorry it's been so long since I posted! The Christmas season is catching up with me, and things have been busy! I'm officially done with my Christmas shopping, thanks to a couple long days in town. Our tree is up with lights on it, and we'll be decorating it tomorrow. I even got my hair cut! (thank goodness!).
Before I start in on this wonderful recipe, I wanted to let you guys know that for the next couple/few weeks, until everything calms down, I may only be doing one or two posts a week. So don't worry, I'm not ditching you, I'm just going to focus on enjoying friends and family for the holidays!
Now, on to the important stuff! I have to tell you, this is one of my favorite candies! My husband loves it too. There is nothing like a crunchy, chocolate & nut covered hunk of buttery toffee to let you know it's a special occasion! It sold really well at the craft fair too! Here is the recipe we were given in school, written by our instructor, Cathy Burgett. Make sure you use a large enough pot for this recipe. The boiling sugar will grow quite a bit, especially when you add the cream and butter. Be careful it doesn't overflow!
English Toffee
1 3/4 lb. sugar
water to cover
1/4 tsp cream of tartar
1 cup cream
1/2 Tbs. vanilla
8 oz. butter
12 oz. chocolate, tempered
1 cup chopped walnuts (4 1/2 oz.)
-Bring the sugar, water and cream of tartar to a boil.
-Cook until it reaches a light caramel color. Add the cream and butter.
-Continue cooking, stirring constantly until the mixture reaches the hard crack stage, 295*.
-Pour out onto a well-oiled, warmed full-sheet pan (I used 2 half sheet pans and silpats) and spread evenly and slowly with a pastry spatula. Spread it about 1/8" thick.
-If the candy begins to harden before it can be spread evenly, place the sheet pan of candy in the oven for a few minutes to warm and soften. Allow the candy to harden at room temperature.
-Gently disengage the sheet of candy from the sheet pan. Spread the top of the toffee with a thin layer of tempered dark chocolate and immediately sprinkle on the ground walnuts so that they stick to the chocolate while it is wet.
-Chill 5 minutes, then flip the sheet of toffee over and repeat the spreading of the chocolate and walnuts. Chill again briefly before breaking up.
-Store in a cool dry place, in a tin, or a nonporous plastic container.
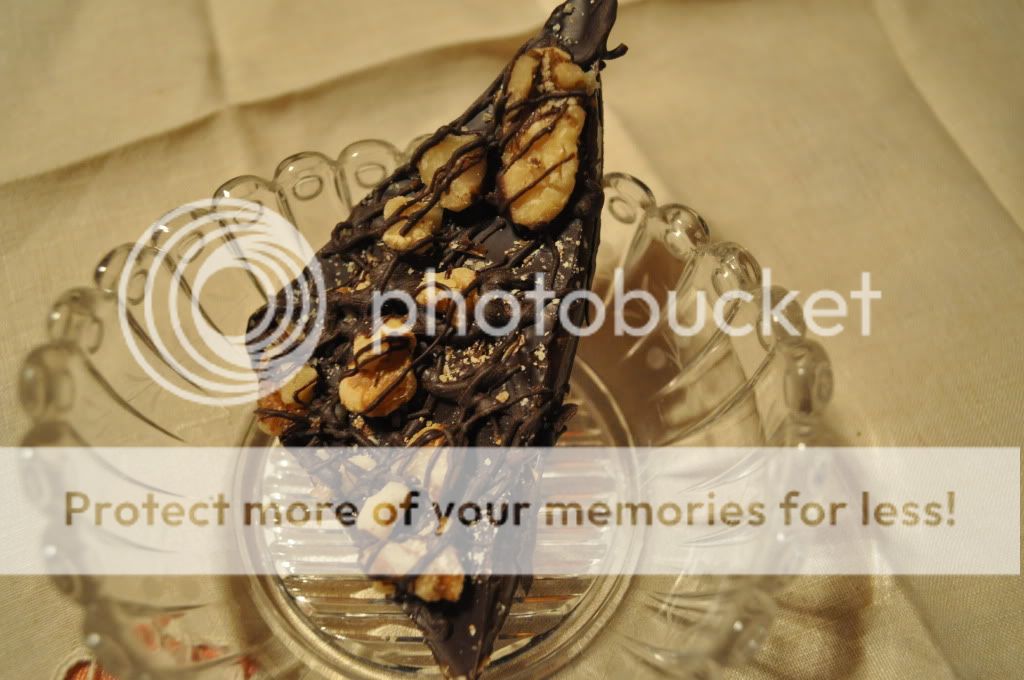
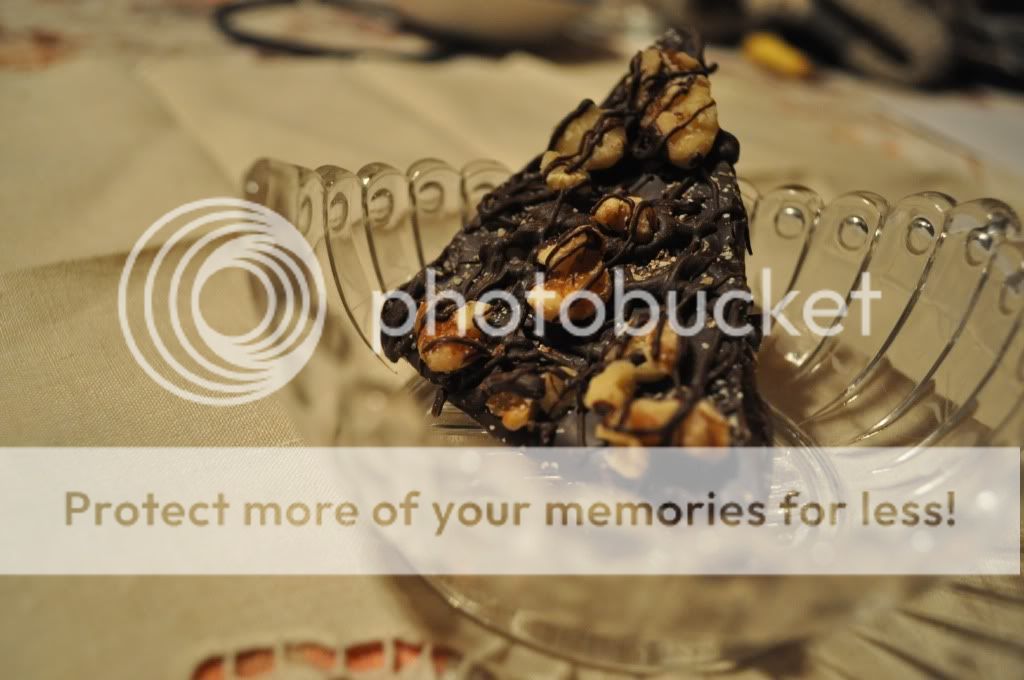
This stuff looks so decadent! There is so much going on in it, you only need a little piece of it to satisfy a sweet tooth. Friends and family will love to munch on this throughout the holiday season, or for any special occasion that comes up!
Hope you all are surrounded with friends and family, and have a merry Christmas! Make sure to eat your candy (and share it too)! ;)
Before I start in on this wonderful recipe, I wanted to let you guys know that for the next couple/few weeks, until everything calms down, I may only be doing one or two posts a week. So don't worry, I'm not ditching you, I'm just going to focus on enjoying friends and family for the holidays!
Now, on to the important stuff! I have to tell you, this is one of my favorite candies! My husband loves it too. There is nothing like a crunchy, chocolate & nut covered hunk of buttery toffee to let you know it's a special occasion! It sold really well at the craft fair too! Here is the recipe we were given in school, written by our instructor, Cathy Burgett. Make sure you use a large enough pot for this recipe. The boiling sugar will grow quite a bit, especially when you add the cream and butter. Be careful it doesn't overflow!
English Toffee
1 3/4 lb. sugar
water to cover
1/4 tsp cream of tartar
1 cup cream
1/2 Tbs. vanilla
8 oz. butter
12 oz. chocolate, tempered
1 cup chopped walnuts (4 1/2 oz.)
-Bring the sugar, water and cream of tartar to a boil.
-Cook until it reaches a light caramel color. Add the cream and butter.
-Continue cooking, stirring constantly until the mixture reaches the hard crack stage, 295*.
-Pour out onto a well-oiled, warmed full-sheet pan (I used 2 half sheet pans and silpats) and spread evenly and slowly with a pastry spatula. Spread it about 1/8" thick.
-If the candy begins to harden before it can be spread evenly, place the sheet pan of candy in the oven for a few minutes to warm and soften. Allow the candy to harden at room temperature.
-Gently disengage the sheet of candy from the sheet pan. Spread the top of the toffee with a thin layer of tempered dark chocolate and immediately sprinkle on the ground walnuts so that they stick to the chocolate while it is wet.
-Chill 5 minutes, then flip the sheet of toffee over and repeat the spreading of the chocolate and walnuts. Chill again briefly before breaking up.
-Store in a cool dry place, in a tin, or a nonporous plastic container.
This stuff looks so decadent! There is so much going on in it, you only need a little piece of it to satisfy a sweet tooth. Friends and family will love to munch on this throughout the holiday season, or for any special occasion that comes up!
Hope you all are surrounded with friends and family, and have a merry Christmas! Make sure to eat your candy (and share it too)! ;)
Tuesday, November 16, 2010
How to Temper Chocolate
Hey guys! Today was yet another fun filled day of chocolate, truffles and packaging! I can't believe how fast this weekend is coming! I totally just released the tension by shopping. Yeah, and I spent a lot too. Uh, don't tell Ben, OK? It's just that I was browsing through the baking books on Amazon, and happened to come across a whole section of cookie decorating books (which happen to be my weakness!). I get to make and decorate tons of things for the holidays at the bakery, and new ideas are never a bad thing! Have I convinced you yet? Yeah, I convinced me too! Awesome! I hope they get here soon!!! I'll be sure to show you when they do!
Oh Here's something else I wanted to show you! There was this rain storm a few days ago, and when I got up super early for work this is what I saw!It was a whole rainbow, too! So beautiful!
Awesome, right?!
Oh, right, and speaking of holiday treats, I have decided to go ahead with my candy posts for the holidays! This will be the first of my series of candy posts! I've been making tons of different things for the Christmas craft fair, and I love to include candy with the cookies plates I give to friends for holiday presents.
Tempering chocolate is a very important and basic skill. You can do TONS of stuff with tempered chocolate! You really need a candy thermometer to do this, as tempering requires some rather specific temperatures. This is not something to be intimidated by, it just takes a little precision and time. You can do it!
Because I knew I would be making a lot of stuff, I bought a huge bar of chocolate! You want to choose a good brand. Something that is totally delicious all by itself.
I'm in love! I was almost sad to open it's perfect wrapper, but it was worth it! I also prefer dark chocolate, but you could use milk chocolate if you really wanted to. This also works for white chocolate. These are the instructions we were given in culinary school, written by Cathy Burgett, our teacher. Ready? Here we go!
To temper 1 1/2 pounds of chocolate:
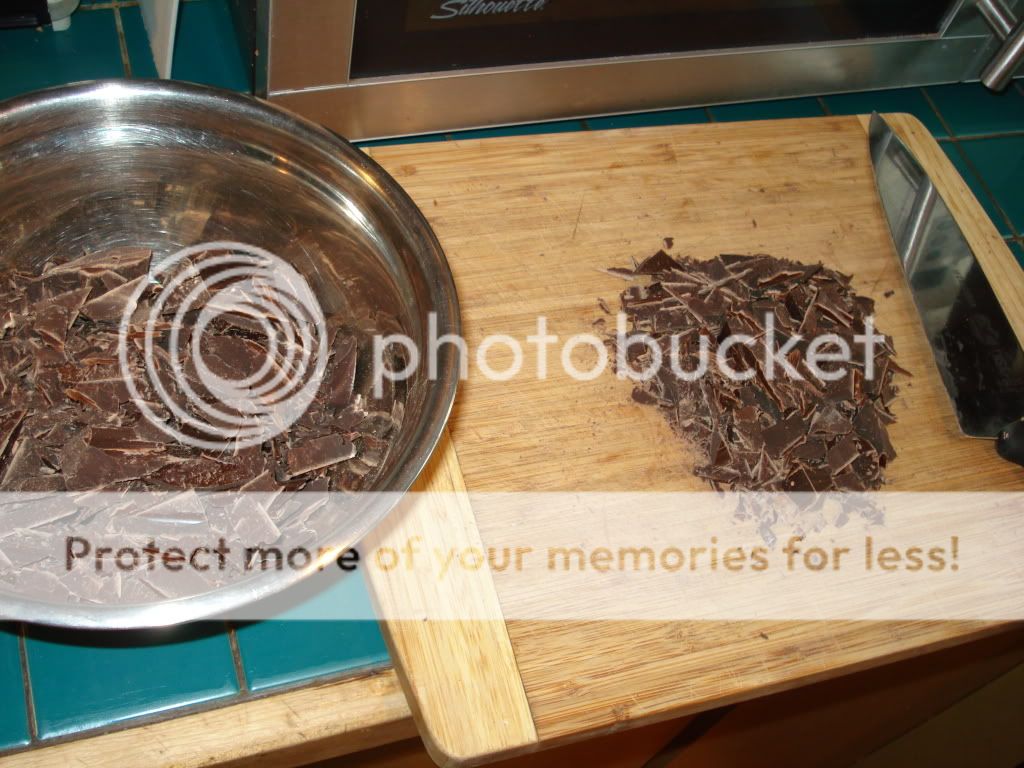
-Chop the chocolate very fine, and place two thirds of it in a metal bowl. Bring a pot of water to a simmer, remove it from the heat and place the bowl of chocolate over the water. The bottom of the bowl should not touch the surface of the water or the chocolate will overheat. Stir the chocolate frequently as it is melting. Take the chocolate's temperature occasionally to make sure that it does not exceed 125*. If it looks like it might be getting too hot, take the bowl off the water bath, and keep stirring to complete the melting.
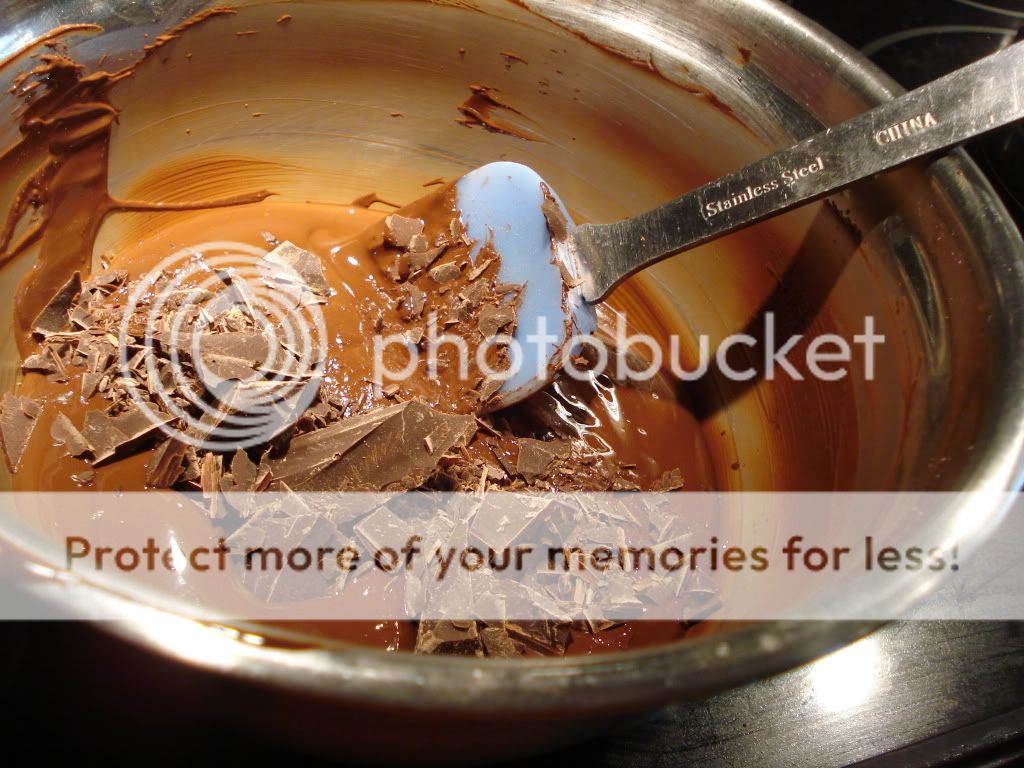
-Remove the bowl from the water bath when the chocolate has melted. Dry the bottom of the bowl. Stir in the remaining third of chocolate, a little at a time until the temperature comes down to 87* to 91* for bittersweet or semisweet chocolates, or 84* to 88* for milk or white chocolates.
-The chocolate can drop down as low as 71*, but then must be reheated repeatedly over the pan of hot water for no more than 2-3 seconds at a time until it comes back up to 87*-91*(bittersweet or semisweet) or 84*-88* (milk or white).
If the chocolate cools down below 71* you must start over. If upon reheating the chocolate the temperature rises above 91* for darks, or 88* for white or milk, the chocolate goes out of temper and you must start over. When the chocolate is in the ideal temperature range it is in a good state of temper and can be used for molding, coating, rolling and decorations.
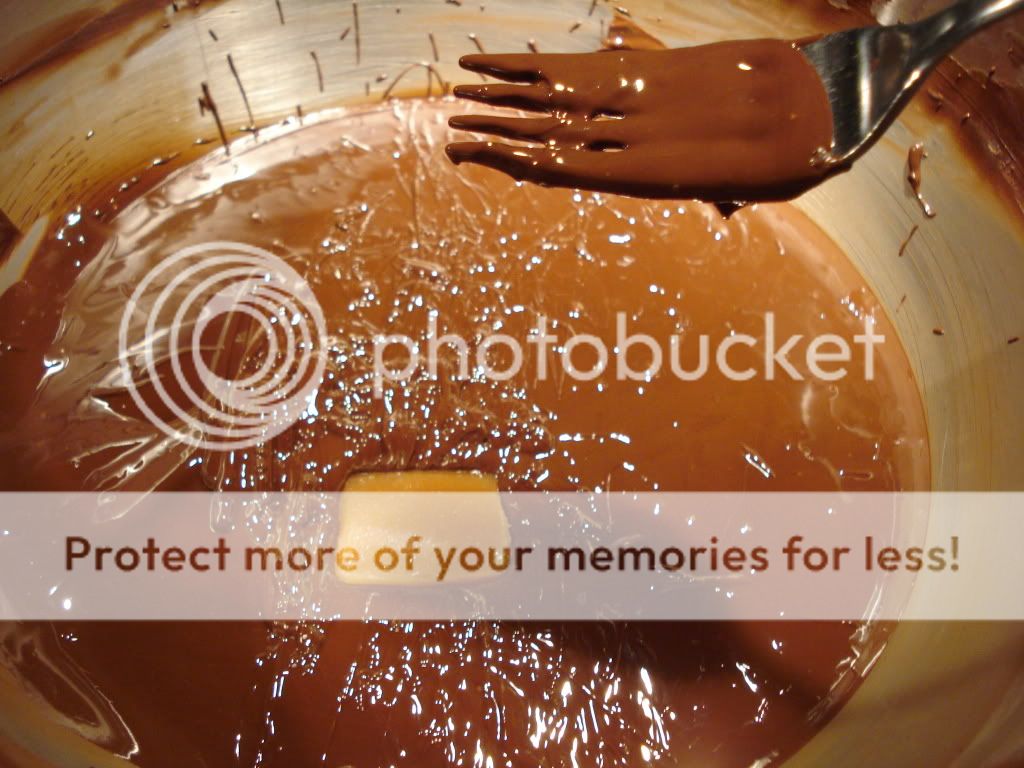
I used my tempered chocolate to make truffles in molds, for chocolate coffee bark, and to coat things like turtles, peppermint patties, and caramels. It also went on English toffee! When Chocolate is properly tempered it should appear very glossy and smooth, and have a good hard snap to it when you break it. Chocolate that is out of temper it will "bloom", or have the cocoa butter rise to the surface and create a milky film on top, looking cloudy. It will also be softer, lacking the nice snap of tempered chocolate.
See? Super shiny! And we all know that I like shiny things! I hope you guys get a chance to try this out for the holidays, and create something beautiful, and delicious! More candy posts will follow, and I'll be referring back to this post. There will be lots of good ideas for using tempered chocolate! I bet you can think of some too!
Tomorrow is my early shift at work. On Wednesdays I ride my bike about 3 1/2 miles to Magic lake (above picture), and then I meet my friend/boss Nora and we walk the last 3 miles together. We get to go on the "Heart Trail", which takes us up and down quite a few nasty little hills, but with moss, trees, leaves, ferns and mushrooms as our scenery. Not too shabby! Check out the steam that was rising last week! Cool!
Guess I had better go to bed soonish. G'night all!
Oh Here's something else I wanted to show you! There was this rain storm a few days ago, and when I got up super early for work this is what I saw!It was a whole rainbow, too! So beautiful!
Awesome, right?!
Oh, right, and speaking of holiday treats, I have decided to go ahead with my candy posts for the holidays! This will be the first of my series of candy posts! I've been making tons of different things for the Christmas craft fair, and I love to include candy with the cookies plates I give to friends for holiday presents.
Tempering chocolate is a very important and basic skill. You can do TONS of stuff with tempered chocolate! You really need a candy thermometer to do this, as tempering requires some rather specific temperatures. This is not something to be intimidated by, it just takes a little precision and time. You can do it!
Because I knew I would be making a lot of stuff, I bought a huge bar of chocolate! You want to choose a good brand. Something that is totally delicious all by itself.
I'm in love! I was almost sad to open it's perfect wrapper, but it was worth it! I also prefer dark chocolate, but you could use milk chocolate if you really wanted to. This also works for white chocolate. These are the instructions we were given in culinary school, written by Cathy Burgett, our teacher. Ready? Here we go!
To temper 1 1/2 pounds of chocolate:
-Chop the chocolate very fine, and place two thirds of it in a metal bowl. Bring a pot of water to a simmer, remove it from the heat and place the bowl of chocolate over the water. The bottom of the bowl should not touch the surface of the water or the chocolate will overheat. Stir the chocolate frequently as it is melting. Take the chocolate's temperature occasionally to make sure that it does not exceed 125*. If it looks like it might be getting too hot, take the bowl off the water bath, and keep stirring to complete the melting.
-Remove the bowl from the water bath when the chocolate has melted. Dry the bottom of the bowl. Stir in the remaining third of chocolate, a little at a time until the temperature comes down to 87* to 91* for bittersweet or semisweet chocolates, or 84* to 88* for milk or white chocolates.
-The chocolate can drop down as low as 71*, but then must be reheated repeatedly over the pan of hot water for no more than 2-3 seconds at a time until it comes back up to 87*-91*(bittersweet or semisweet) or 84*-88* (milk or white).
If the chocolate cools down below 71* you must start over. If upon reheating the chocolate the temperature rises above 91* for darks, or 88* for white or milk, the chocolate goes out of temper and you must start over. When the chocolate is in the ideal temperature range it is in a good state of temper and can be used for molding, coating, rolling and decorations.
I used my tempered chocolate to make truffles in molds, for chocolate coffee bark, and to coat things like turtles, peppermint patties, and caramels. It also went on English toffee! When Chocolate is properly tempered it should appear very glossy and smooth, and have a good hard snap to it when you break it. Chocolate that is out of temper it will "bloom", or have the cocoa butter rise to the surface and create a milky film on top, looking cloudy. It will also be softer, lacking the nice snap of tempered chocolate.
See? Super shiny! And we all know that I like shiny things! I hope you guys get a chance to try this out for the holidays, and create something beautiful, and delicious! More candy posts will follow, and I'll be referring back to this post. There will be lots of good ideas for using tempered chocolate! I bet you can think of some too!
Tomorrow is my early shift at work. On Wednesdays I ride my bike about 3 1/2 miles to Magic lake (above picture), and then I meet my friend/boss Nora and we walk the last 3 miles together. We get to go on the "Heart Trail", which takes us up and down quite a few nasty little hills, but with moss, trees, leaves, ferns and mushrooms as our scenery. Not too shabby! Check out the steam that was rising last week! Cool!
Guess I had better go to bed soonish. G'night all!
Subscribe to:
Posts (Atom)